|
Size: 5069
Comment: name and cpu support
|
Size: 5187
Comment: zoom in view
|
| Deletions are marked like this. | Additions are marked like this. |
| Line 75: | Line 75: |
| A zoomed in view of the particles: {{attachment: | boxer | width=800}} {{attachment: | boxer | width=800}} |
Particle Picking with Convolution Neural Nets
EMAN2 daily build after 2015-11-06
The program can be found in:
EMAN2/examples/convnet_pickparticle.py
This program is developed by Muyuan Chen. Please contact muyuanc@bcm.edu if you have any questions.
Here we train a stack of convolutional neural nets to recognize particles in the micrograph. The basic structure of the convolutional net used in this program is described here:
This program requires Theano, in addition to other EMAN2 dependencies. Guide to install Theano can be found here:
This program runs on GPU if the GPU environment is set up in Theano. If not, it should be able to run on CPU, but the speed may be slower. Also, some functions (not very useful at this point) will be disabled if CPU is used.
Example
We use some IP3R images as a example.
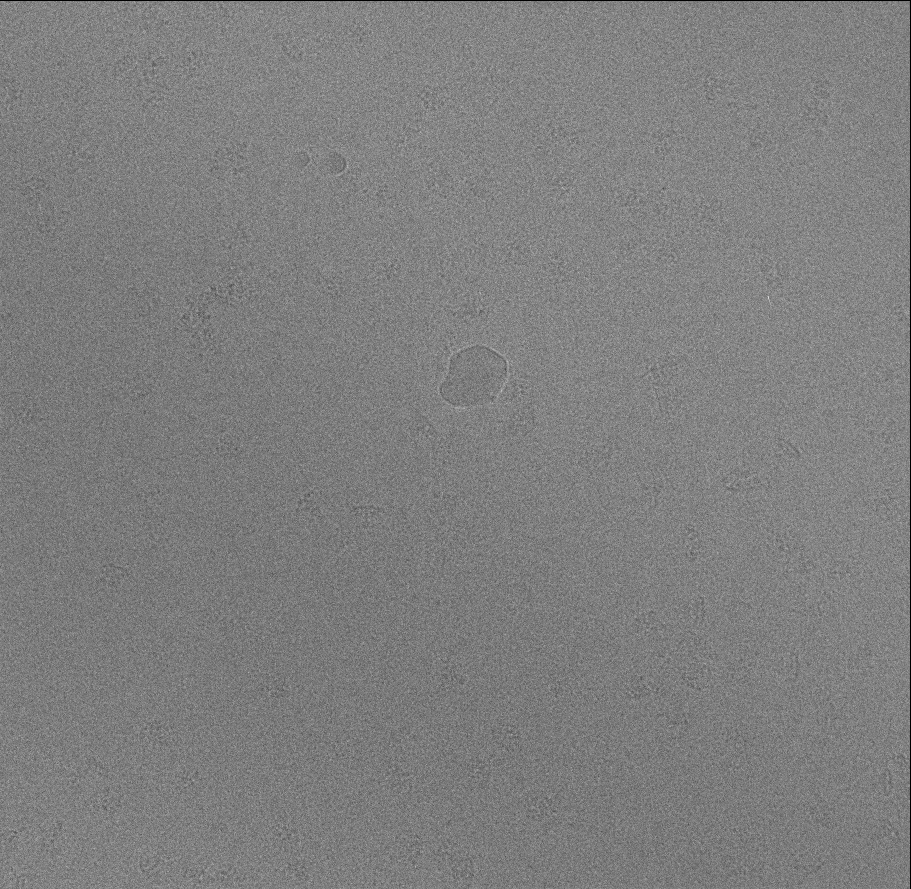
Making Training Set
Pick some particles manually (We use 65 particles in this case). Use a box size slightly larger than the particle, and make sure to center these particles. These particles should cover most different view of particle. Here we save these particles as "ptcls_train.hdf".
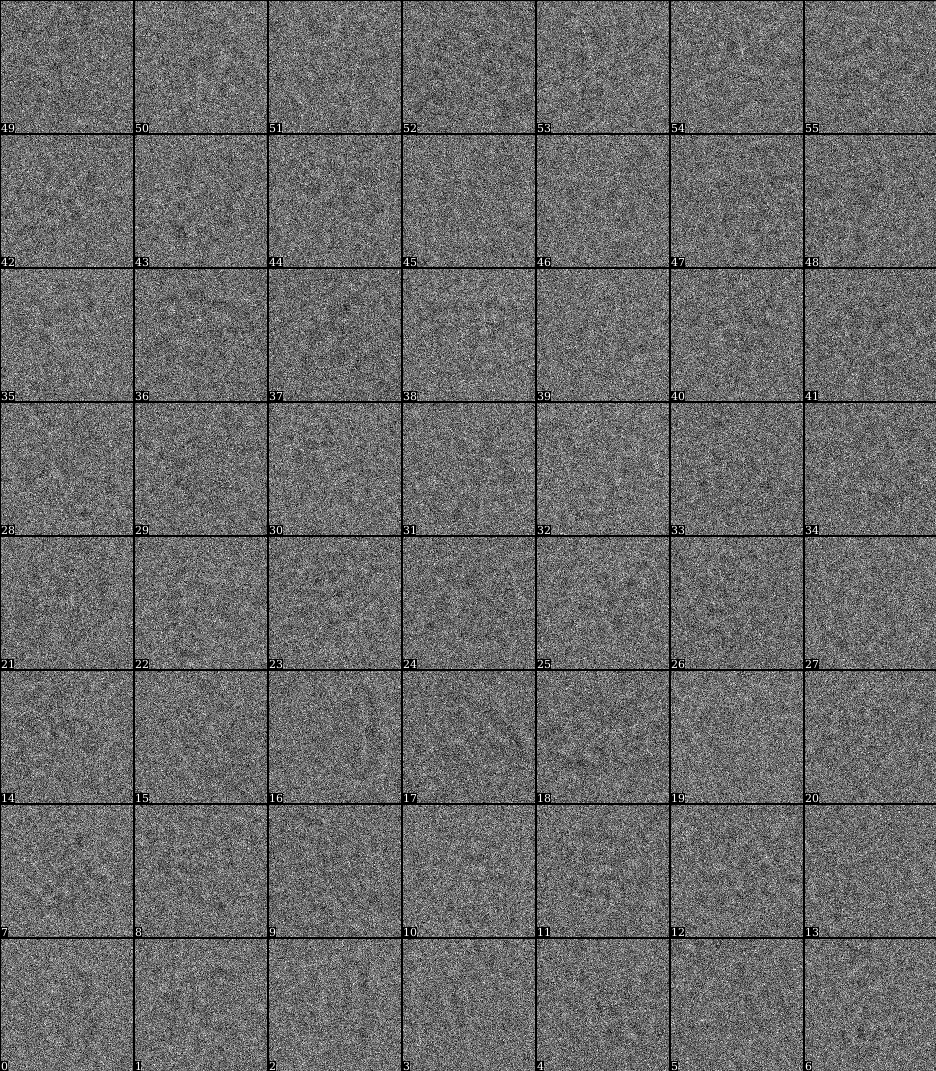
Pick some negative samples (Things that you are sure that are not particles, here we pick 10 pure noise samples.) The noise samples should be the same size as the particles. We save these negative samples as "ngtvs.hdf"

Train the convolutional network
- Run the program to train the convolutional neural net with the command:
convnet_pickparticle.py ptcls_train.hdf --ngtvs ngtv_train.hdf --shrink 2 --trainout
We shrink the particles by 2 for speed. Specify the --trainout option so the program will output the result on the training set.
When the program finishes, check the file "result_conv0.hdf" which can be found in the directory you run the program. You should see something like this:
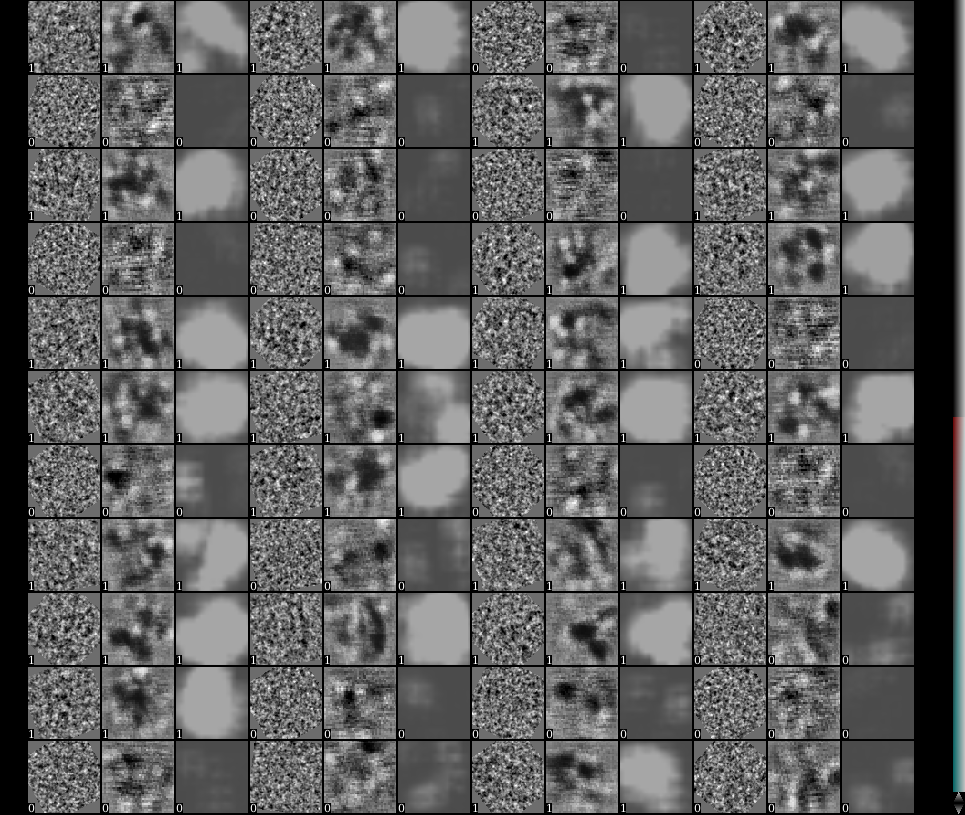
In stack display, toggle on the value called "label". Resize the view so that there are 3*N images in each row. Here for each 3 images, the first one is one particle or noise sample, the second one is the output from the first layer of the neural net, and the third one is the final output of the classification layer of the neural net. Real particles have the label value of 1, while negative samples have label 0.
Due to some Theano issue, if the program is run on CPU, the second image (output from the first layer) will not display.
- In a satisfying training, each third image (classification layer output) of a particle should be a bright ball, while the third image for a negative sample should be empty.
If the output looks good, we can test the net on a micrograph to see the performance. Here we name it "testimg.hdf". Note that this image should NOT be the same one that you box the training particles. Use the command: convnet_pickparticle.py --teston testimg.hdf
When the program finishes, you should see a new file called "testresult.hdf" in the folder. It is an image stack with two images. Open it with Show 2D in e2display.
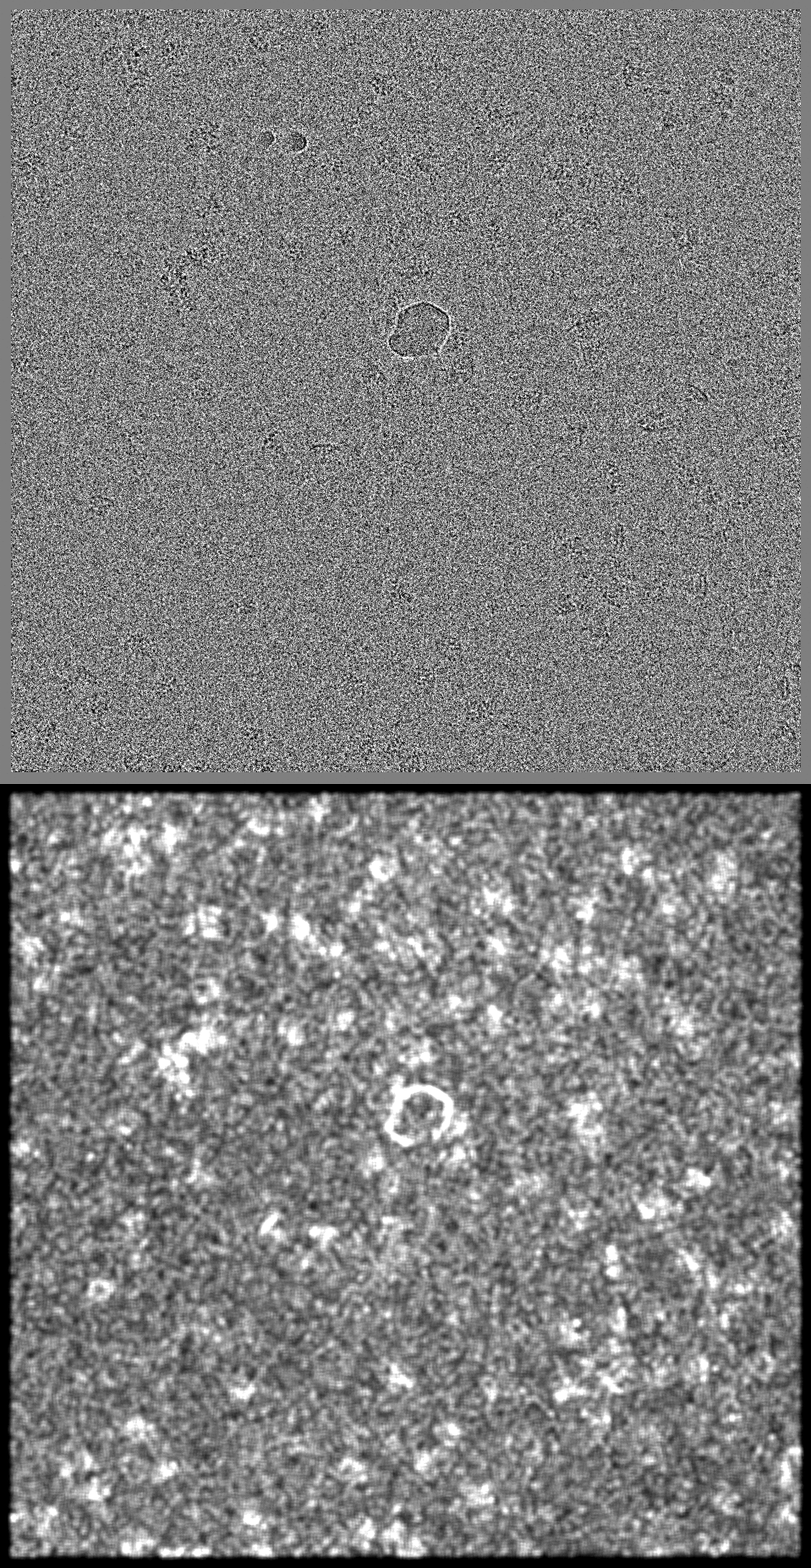
- The first image is a filtered version of the input, and the second image is the output of the neural net. The particles should be highlighted in the second image. Note in this case some large ice contaminations are recognized as particles in this case but it generally looks fine.
Box particles
- If the test image works, we can apply this to all the micrographs. Run the command:
convnet_pickparticle.py --teston micrographs Here micrographs is the folder of all your micrographs. The program will apply the convolutional net on all images in the folder, find the particles and save as EMAN2 particle box format.
Now look at the boxing result using e2boxer.py e2boxer.py micrographs/*.mrc Auto-picked particles will show up as "manual picked particles" here.
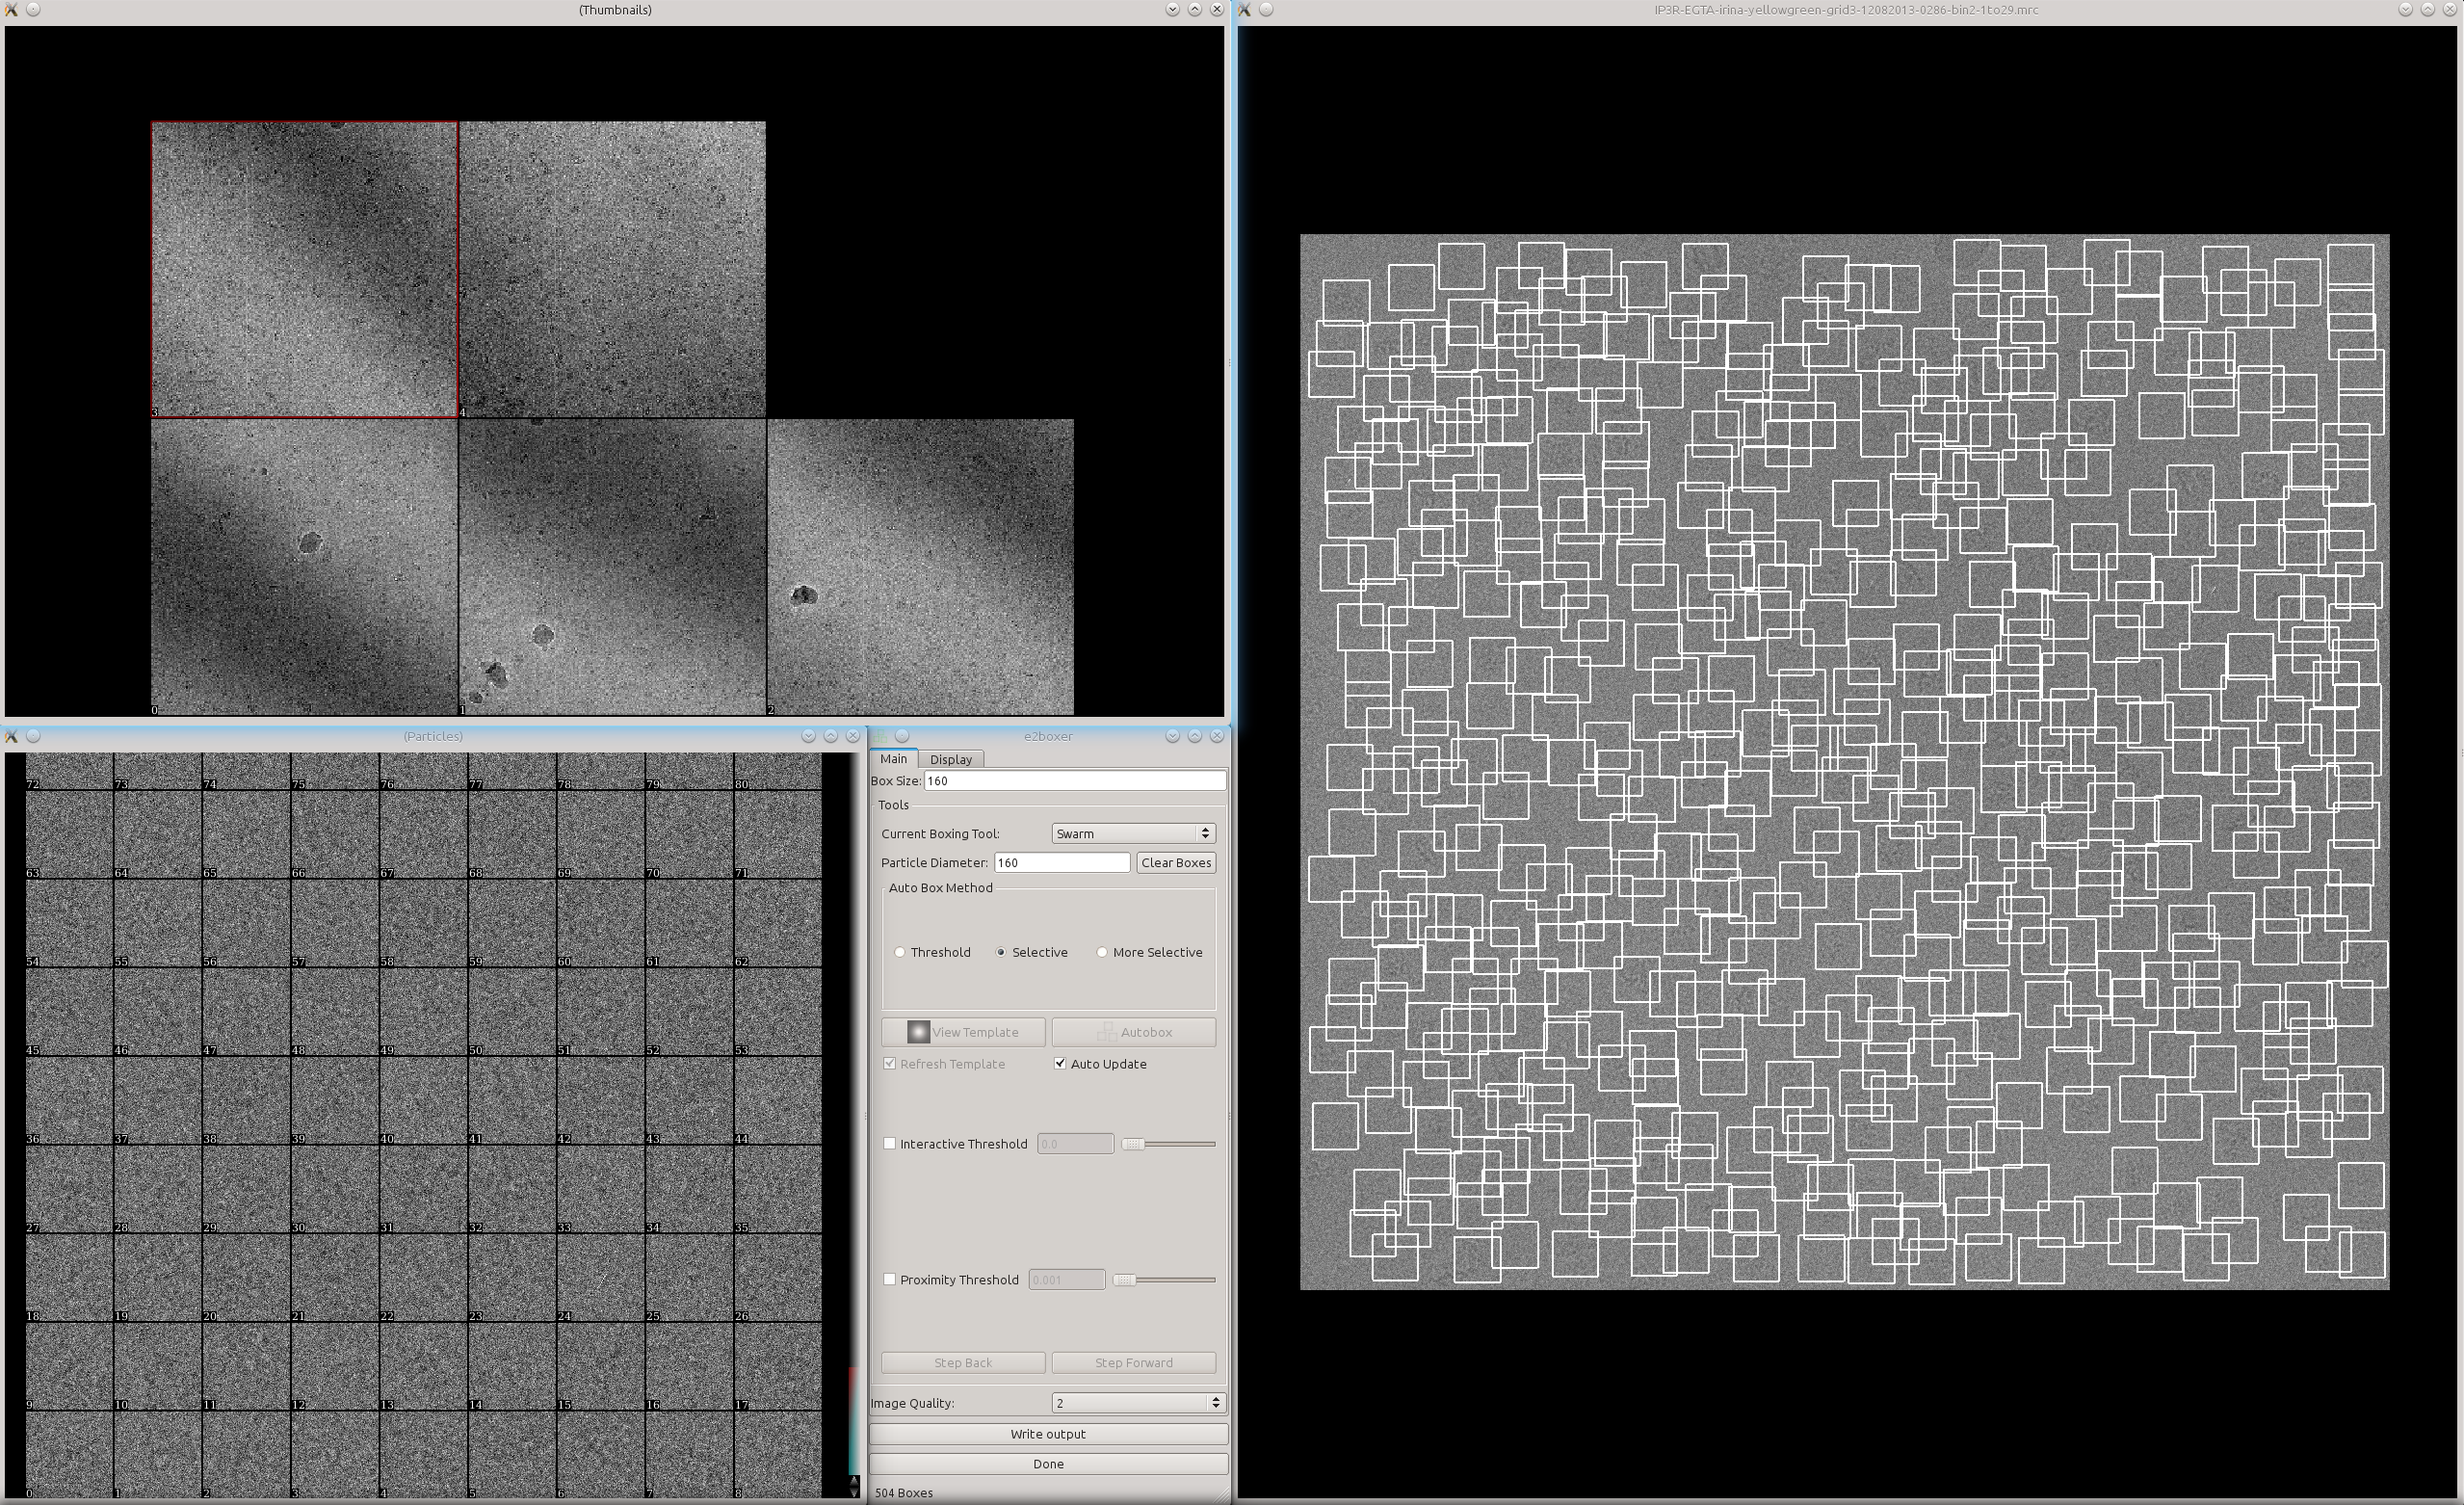
- Usually there are apparently more boxes than real particles here. The particles are sorted by the score given by the convolutional network. So particles with lower index should be "better".
Here we just need to look at the particles and decide that the particles after X are not real anymore. Then switch to manual boxing tool and put the number X in the text box Clear from # and click the button Clear.
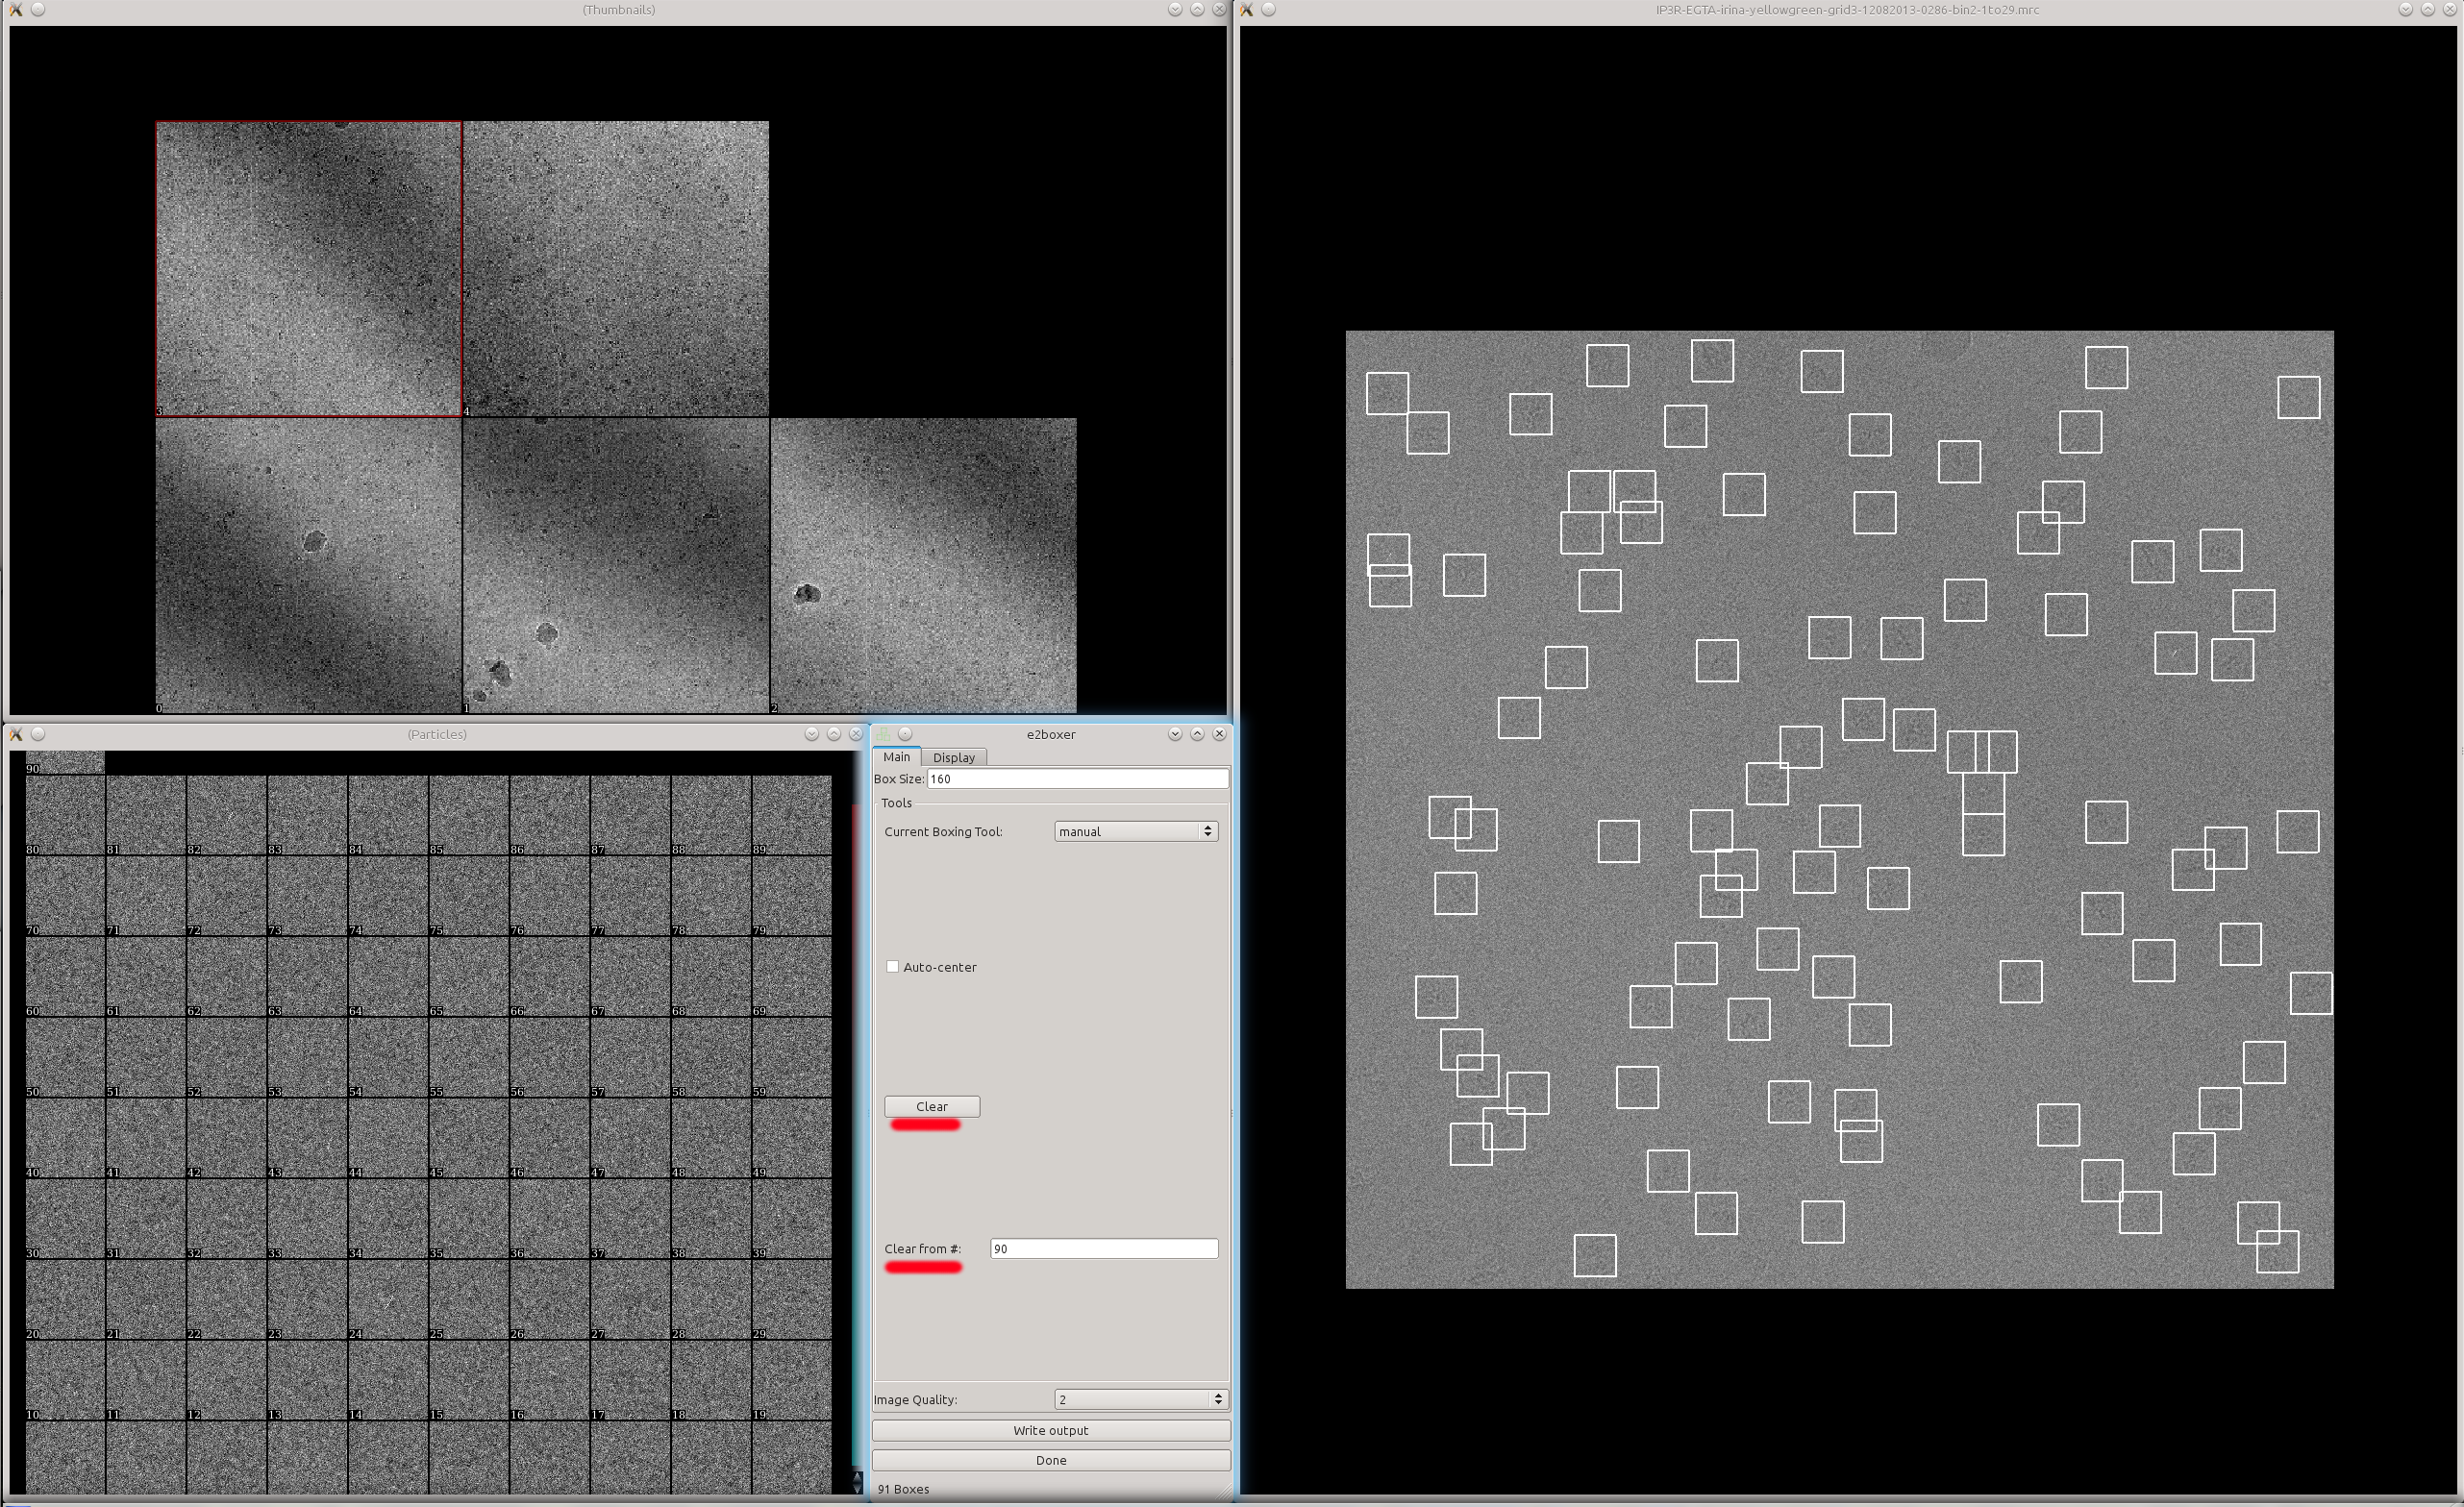
A zoomed in view of the particles:
That's it~
Muyuan 2015-11-05
